How Do I Create a User?
Creating a user involves the following steps:
- Creating the user's account.
- Assigning permissions to the user.
1 Creating a User's Account
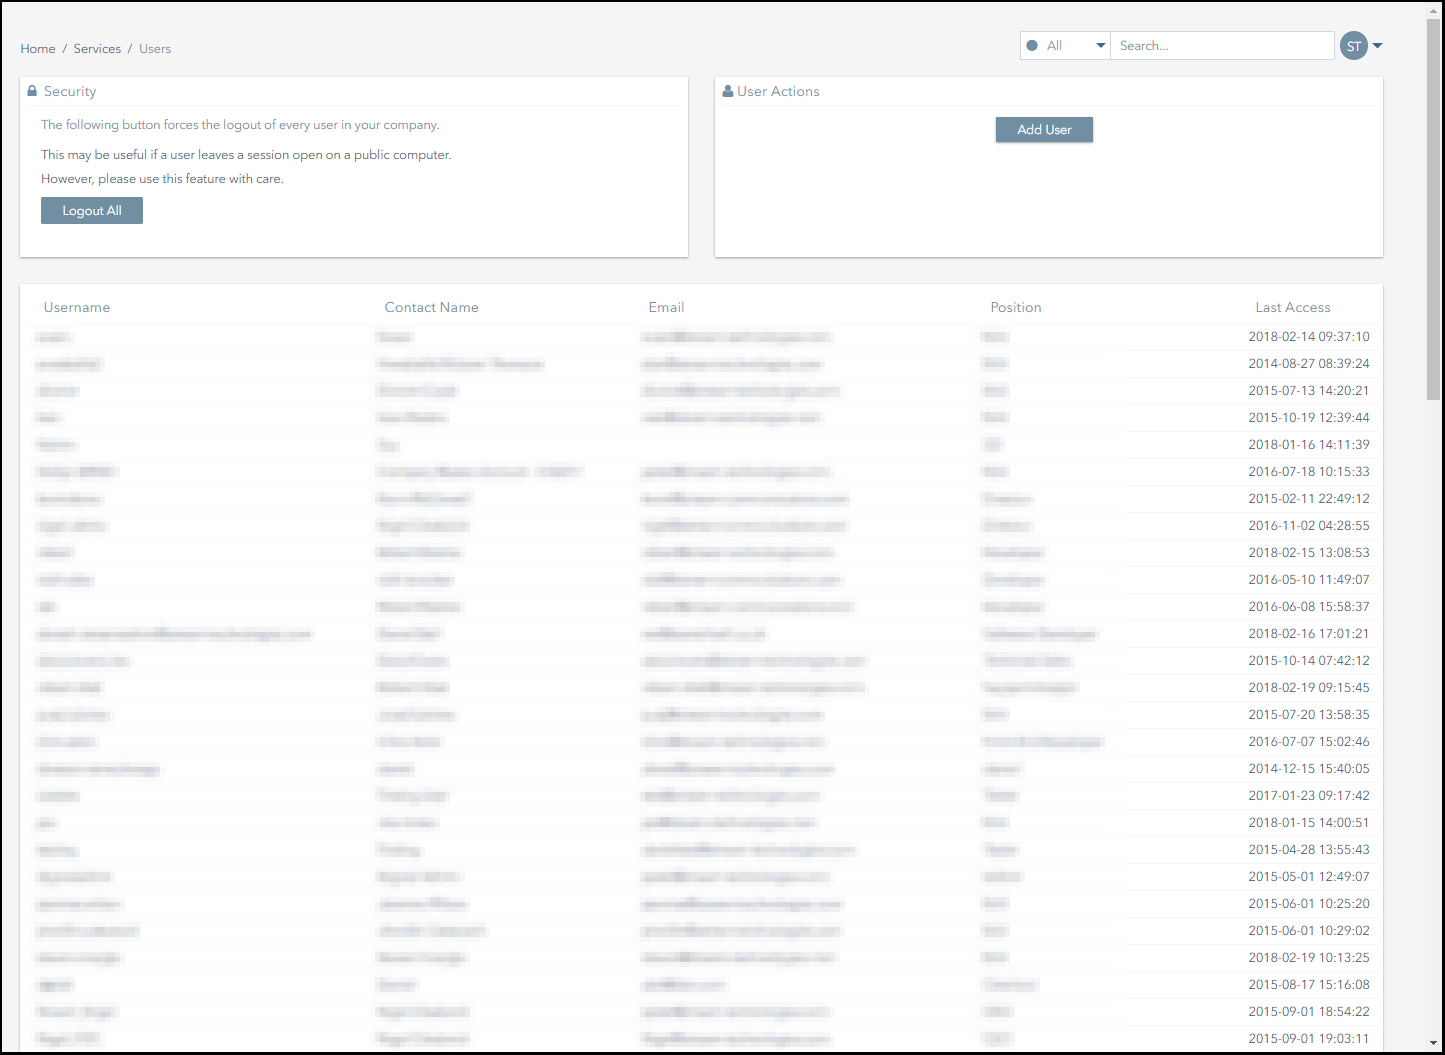
User accounts can be created from the Services>Users section of Connectivity Management.
To add a user:
- Navigate to the Services>Users page.
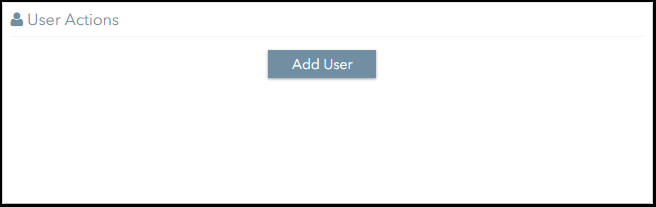
- Click on the Add User button in the User Actions panel.
- Complete the New User form.
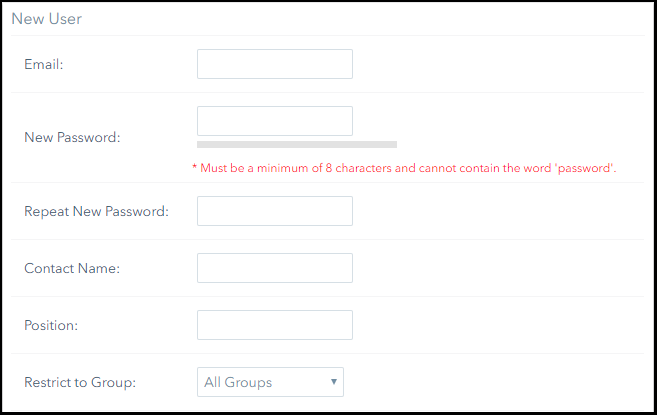
If you have set up groups, you can assign the user to a group by selecting the relevant group from the Restrict to Group drop-down menu.
If you do not want to assign the user to a group, select the All Groups option.- Click on the Add button to complete the process.
- If the user was added successfully, a notification like this will appear on screen:

2 Assigning Permissions to a User
User permissions control the features that users can access and the actions they can perform.
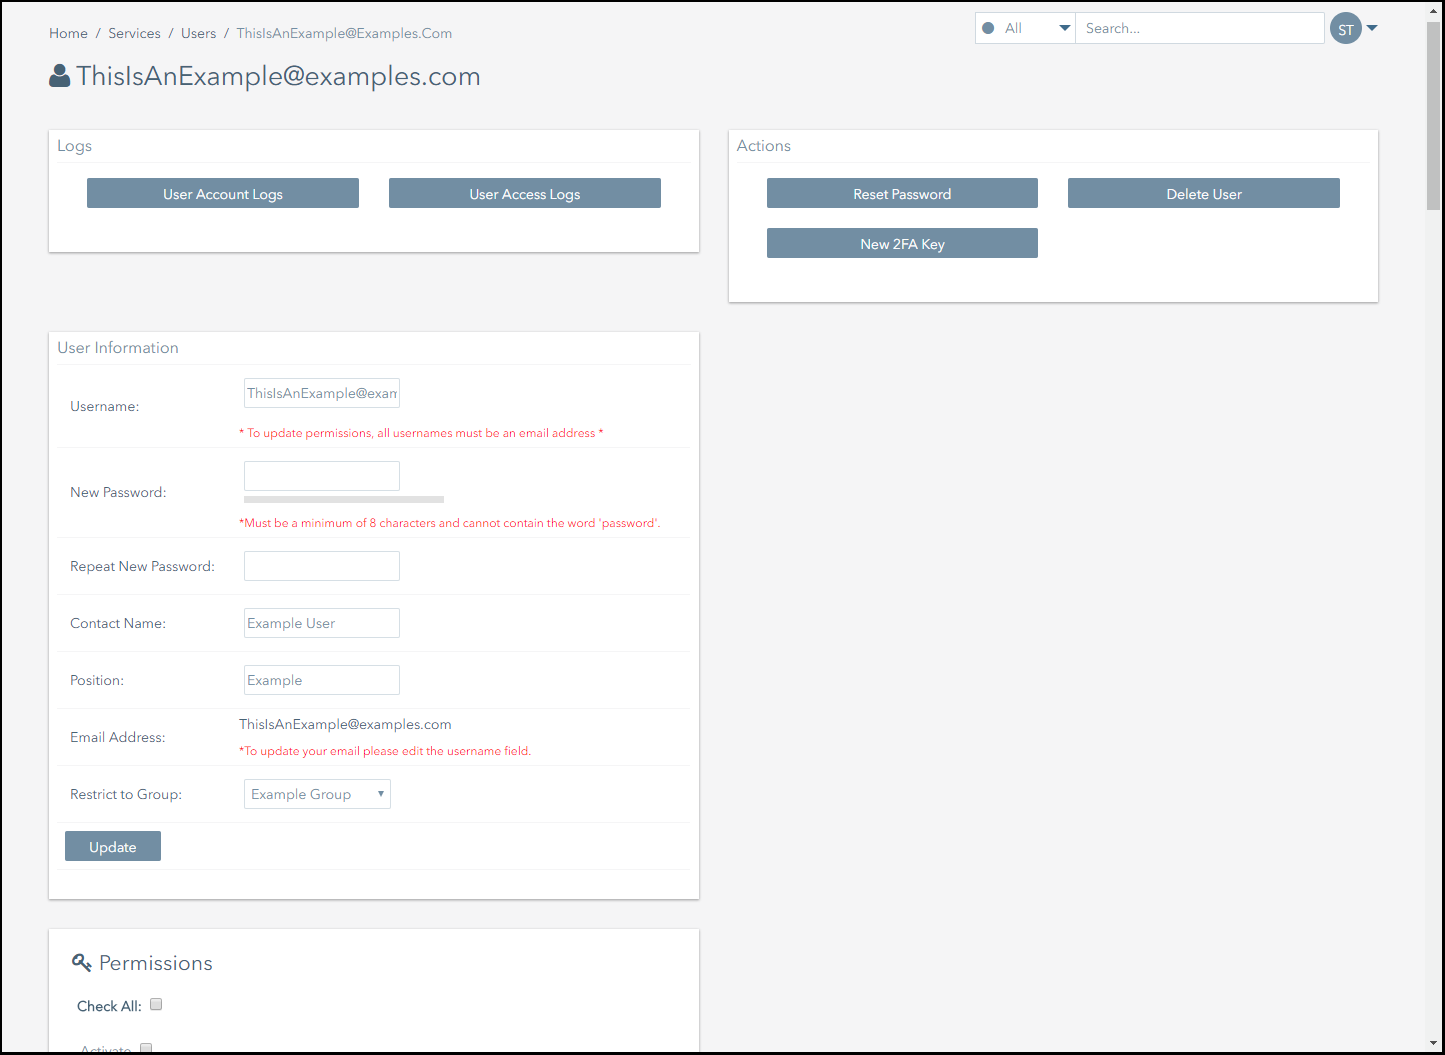
After you have created the user's account, you can assign permissions to them from their profile page.
The following screenshot displays the an example user profile page.
To assign permissions to a user:
- Navigate to the Services>Users page.
- Click on the user that you want to grant permissions to.
- Assign the user with the required permissions.
- Click on the Update button to complete the process.
- If the user's permissions were updated correctly, a notification like this will appear on screen:

On This Page
Pelion
Ground and First Floor
St. Vincent Plaza
319 St. Vincent Street
Glasgow, G2 5LD
Ground and First Floor
St. Vincent Plaza
319 St. Vincent Street
Glasgow, G2 5LD