Managing Users
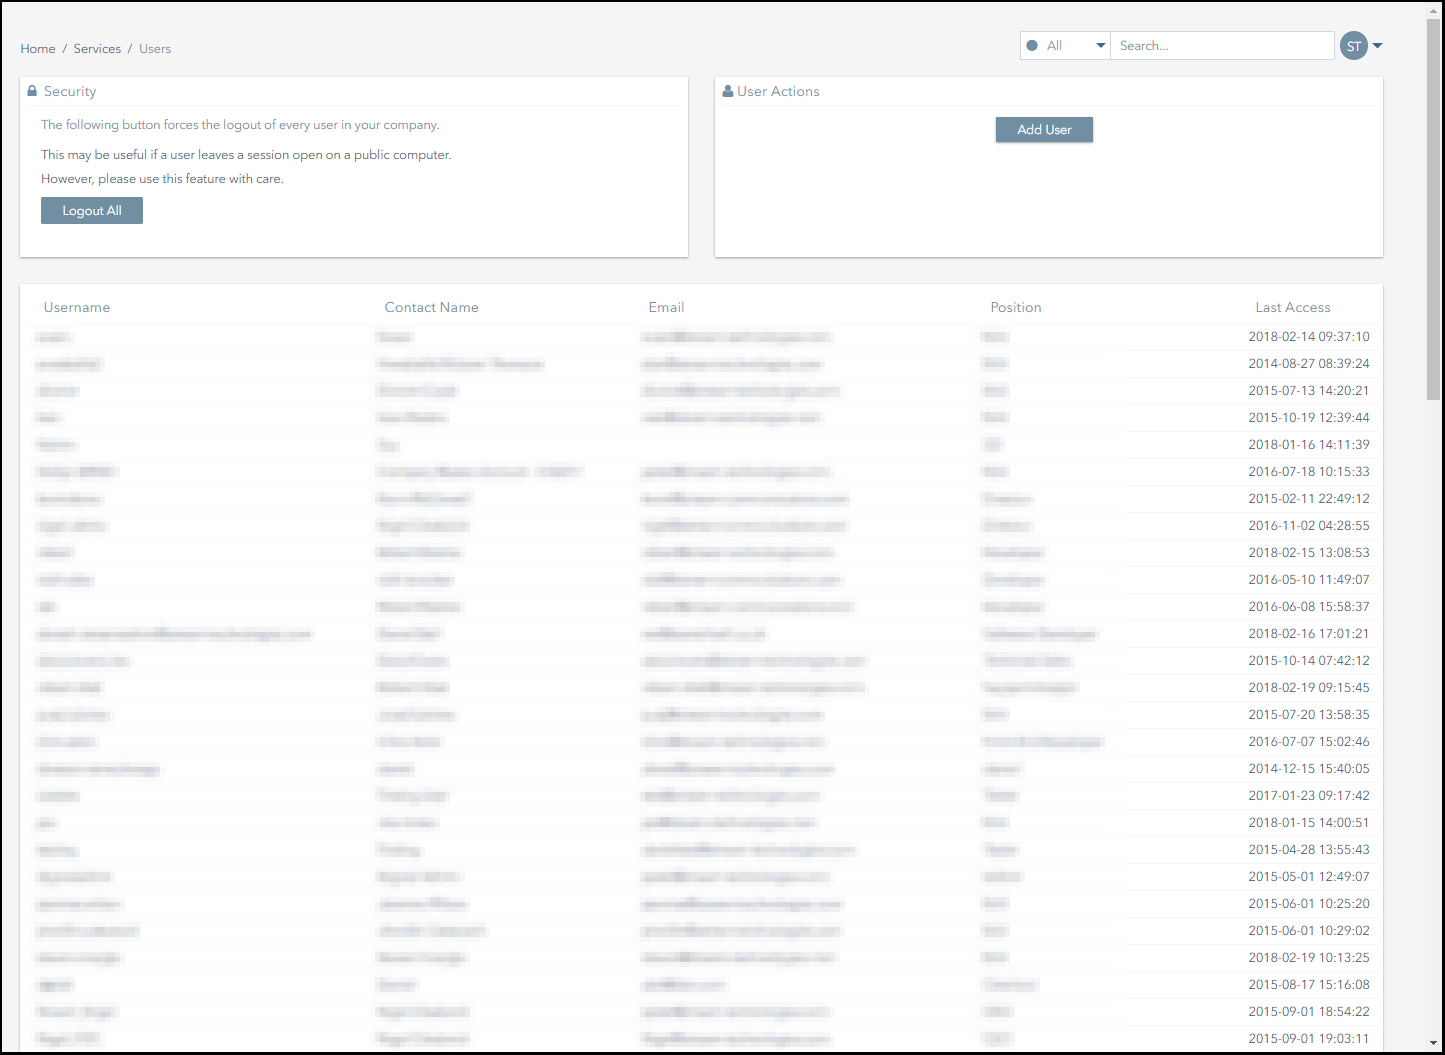
The following screenshot displays the Users page.
This section explains how to:
- Add a user.
- Assign permissions to a user.
- Assign a user to a group.
- Edit user information.
- Edit user permissions.
- Reset a user's password.
- Logout all users.
Adding a User
- Navigate to the Services>Users page.
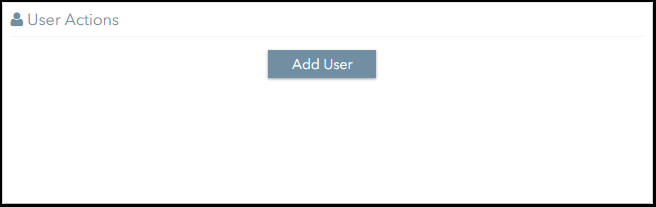
- Click on the Add User button in the User Actions panel.
- Complete the New User form.
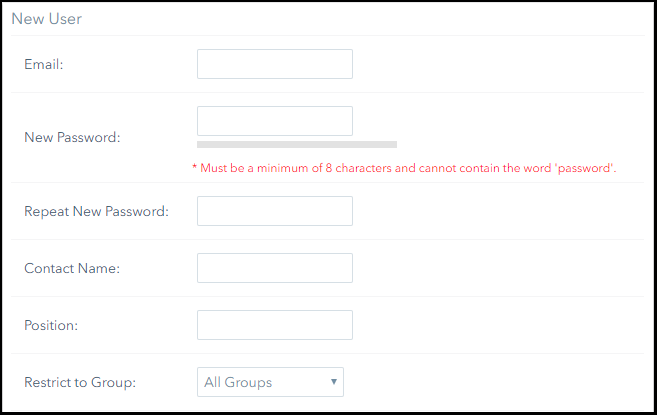
If you have set up groups, you can assign the user to a group by selecting the relevant group from the Restrict to Group drop-down menu.
If you do not want to assign the user to a group, select the All Groups option.- Click on the Add button to complete the process.
- If the user was added successfully, a notification like this will appear on screen:

Assigning Permissions to a User
- Navigate to the Services>Users page.
- Click on the user that you want to grant permissions to.
- Assign the user with the required permissions.
- Click on the Update button to complete the process.
- If the user's permissions were updated correctly, a notification like this will appear on screen:

Assigning a User to a Group
To assign a user to a group:
- Navigate to the Services>Users page.
- Click on the user you want to assign to a group.
- Select the group you want to assign the user to from the Restrict to Group drop-down menu.
- Click on the Update button to complete the process.
Editing User Information
- Username.
- Password.
- Contact name.
- Position.
- Group memberships.
To edit a user’s information:
- Navigate to the Services>Users page.
- Click on the user you want to edit.
- Edit the necessary user information.
- Click on the Update button to complete the process.
Editing User Permissions
- Navigate to the Services>Users page.
- Click on the user that you want to edit.
- Edit the necessary user permissions.
- Click on the Update button to complete the process.
Resetting a User's Password
If you want to send an email to a user, notifying them to change their password:
- Navigate to the Services>Users page.
- Click on the whose password you want to reset.
- Click on the Reset Password button to complete the process.
Logout All Users
Discretion should be used when using this functionality as it logs out all users who are currently logged in to the application, including the user who clicked on the Logout All button.
This functionality is beneficial if, for example, a malicious user has accessed your account. The Logout All button allows you to kick the user out of the application.
To logout all users:
- Navigate to the Services>Users page.
- Click on the Logout All button to complete the process.
Ground and First Floor
St. Vincent Plaza
319 St. Vincent Street
Glasgow, G2 5LD